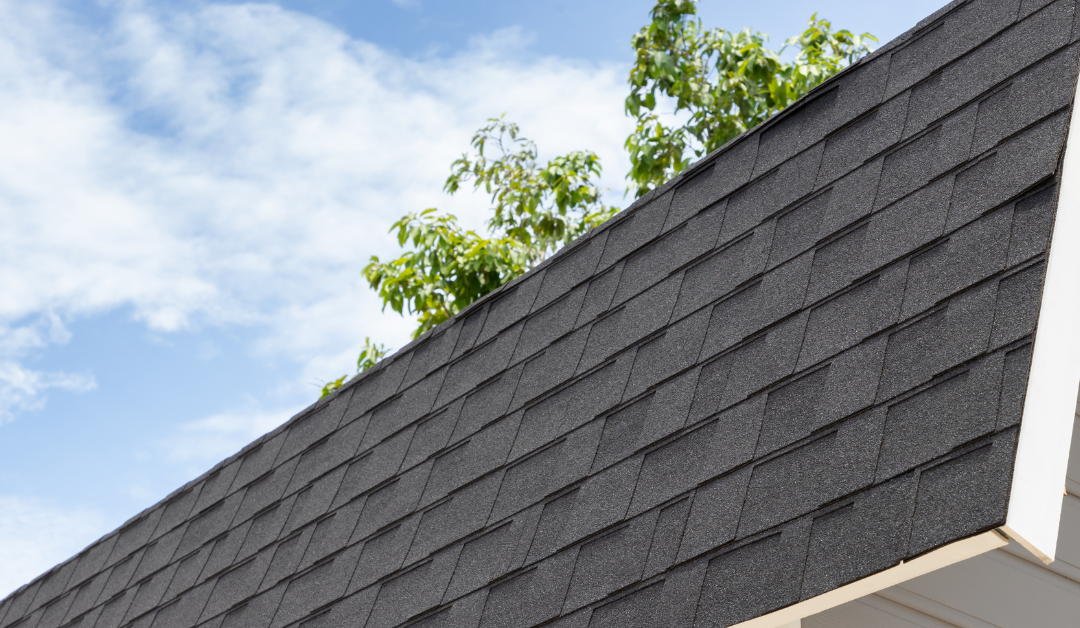
Imagine relaxing at home with a cup of coffee when a sudden thunderstorm hits. As the rain intensifies, you notice a leak near the chimney caused by a broken tile, leaving you feeling anxious. Roof damage like this can’t be ignored—those tiles need a repair, and you can handle it yourself.
However, fixing broken roof tiles requires careful steps and a methodical approach. This guide will walk you through a simple DIY method to restore your roof in just five steps.
Understanding Tile Roof Damage and Why It Matters
Before diving into the steps of tile roof repair, it’s important to recognize the different types of damage and the warning signs that indicate you need repairs. Tile roofs are known for their durability, but they can still suffer damage from various factors.
Common causes of roof damage include harsh weather conditions, water infiltration, or normal wear and tear. Issues such as cracked, missing, or loose tiles require immediate attention. Addressing these problems early—like performing a concrete tile roof repair—can save you significant money and prevent further complications.
Even intact tiles can degrade over time, leading to leaks or structural issues. Look for these warning signs that indicate a need for repair:
- Cracks
- Discoloration
- Algal growth
- Granules in the gutter
- Warped tiles
- Leaks
If you notice any of these signs, act quickly to prevent more extensive damage.
Safety First: Essential Gear and Precautions
Before starting your tile roof repair, prioritize safety. Ensure you have the necessary equipment and follow these precautions:
Essential Safety Gear:
- A hard hat to protect against falling debris
- Safety glasses to shield your eyes from dust and UV rays
- Non-slip shoes with good grip for safe movement on angled roofs
- Work gloves to protect your hands while handling tools and tiles
Always check the weather conditions before beginning any roof repair. Choose a dry, calm day to minimize the risk of accidents. Wet and windy conditions can be hazardous and increase the likelihood of slips and falls.
5 Simple Steps to Repair Broken Roof Tiles
Now that you understand the safety precautions and warning signs, let’s move on to the repair process in five easy steps.
Step 1: Assess the Damage and Gather Materials
Start with a thorough inspection of the roof to identify all damaged areas. Look for gaps, chips, or breaks in the tiles, and check for leaks inside and outside your home. Pay special attention to areas around vents, chimneys, and edges.
Gather all necessary tools and materials, including a pry bar, hammer, roofing nail puller, replacement tiles, sealant, and roofing cement. Use matching tiles to ensure a seamless repair.
Step 2: Safely Access the Roof
Take practical safety measures, such as using a stable ladder to access the roof. Wear a safety harness anchored to a secure point on the roof or building structure to protect against falls.
Step 3: Remove Damaged Tiles
Carefully remove the broken or cracked tiles, along with any loose pieces around the damaged area. Use a pry bar to gently lift surrounding tiles if necessary to access the damaged ones. Clear away any debris to prepare for the new tiles.
Step 4: Replace the Tile
Slide the new tile into place, ensuring it aligns perfectly with the surrounding tiles. Before installing, check the new tile for cracks or defects. Secure the tile using roofing nails or adhesive, depending on the type. Reinstall any tiles that were lifted during the process for a snug fit.
Step 5: Apply Sealant
Finish by applying a sealant to enhance the waterproofing of the newly installed tiles. Choose the best sealant for your tile type, such as concrete or clay, and apply it around the edges for extra protection.
Why Choose Armor Roofing for Your Tile Roof Repair?
While tile roof repair can be a DIY project, it requires careful planning and safety precautions. For those without experience, the process can be challenging and time-consuming. That’s where Armor Roofing comes in.
Our trained professionals handle everything from inspecting and replacing damaged tiles to restoring the aesthetic appeal of your property. With over 30 years of experience in roof maintenance, repair, and installation, we are Kansas City’s trusted roofing experts.
We use premium materials to ensure your roof stands the test of time. Why spend hours on complicated repairs when our team is ready to assist with any roofing emergency? Contact us today and let us take care of your tile roof repair needs!

